Table of contents
- Ingredients You’ll Need for the Perfect Butterfinger Balls Recipe
- Step-by-Step Guide to Making Butterfinger Balls at Home
- Tips and Tricks for the Best Butterfinger Balls
- Creative Variations of Butterfinger Balls You Can Try
- Serving Suggestions: How to Enjoy Butterfinger Balls
- How to Store and Keep Butterfinger Balls Fresh Longer
- Frequently Asked Questions About the Butterfinger Balls Recipe
Estimated reading time: 10 minutes
If you’re a fan of creamy, crunchy, and sweet treats, this Butterfinger balls recipe will quickly become one of your favorites. The combination of crushed Butterfinger bars and a smooth peanut butter filling creates the perfect balance of flavors. Coating these balls in a rich chocolate shell adds an extra layer of indulgence that will satisfy your sweet tooth. Whether you’re preparing them for a special occasion or just as a quick snack, these Butterfinger balls are easy to make and always a hit. Plus, they can be made ahead of time and stored for later, ensuring you always have a delicious treat on hand.
Ingredients You’ll Need for the Perfect Butterfinger Balls Recipe
To make a truly delicious Butterfinger balls recipe, gathering the right ingredients is essential. These ingredients come together to create a sweet, crunchy, and creamy treat that everyone will love. Here’s what you’ll need:
- 1 package of Butterfinger bars – The star ingredient that brings both crunch and flavor.
- 1 cup peanut butter – This creates the rich and smooth filling that blends perfectly with the Butterfingers.
- 1 ½ cups powdered sugar – Adds the necessary sweetness and helps form the right consistency for the dough.
- 2 cups crushed graham crackers – Provides a slight crunch and helps bind the filling together.
- 1 ½ cups milk chocolate chips – The perfect coating that will melt easily and create a smooth, glossy finish.
- ½ teaspoon vanilla extract – Adds a warm, subtle flavor that complements the peanut butter and chocolate.
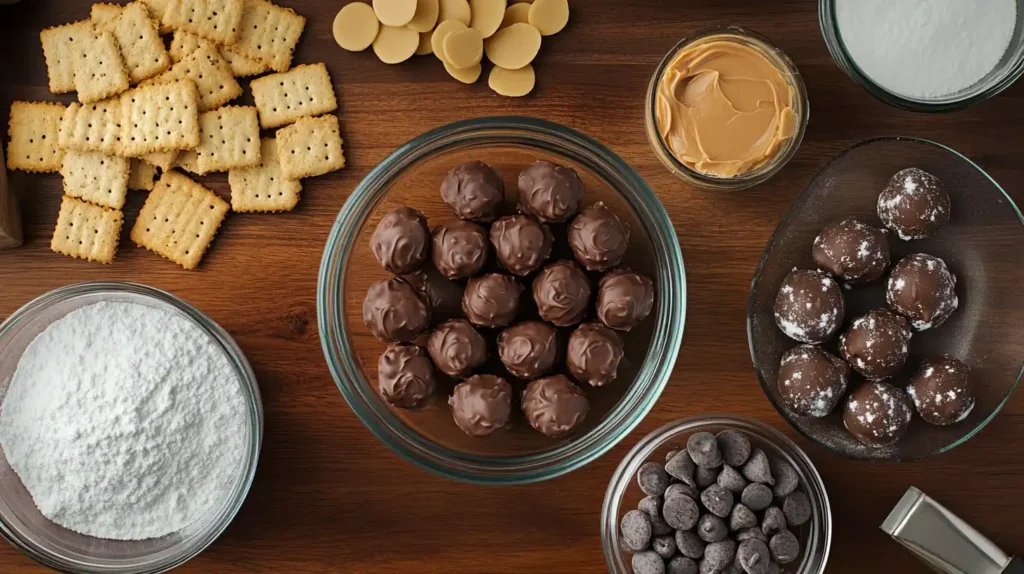
These ingredients combine to form a mouthwatering treat that is both easy to make and fun to enjoy. Each component contributes its own unique texture and flavor, making this Butterfinger balls recipe a well-balanced dessert. Gather these items, and you’ll be ready to create a delightful snack that is perfect for any occasion.
Step-by-Step Guide to Making Butterfinger Balls at Home
Making Butterfinger balls at home is easy and fun. Follow these simple steps to create a tasty treat that everyone will love!
Step 1: Prepare the Filling
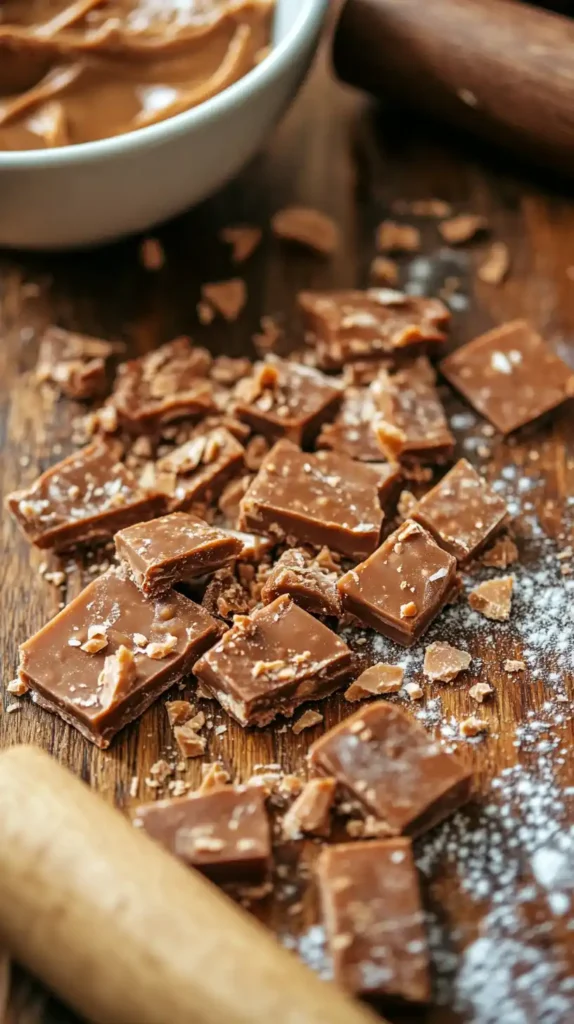
Start by crushing your Butterfinger bars into small pieces. You can do this by placing them in a bag and gently smashing them with a rolling pin. In a large mixing bowl, combine the crushed Butterfingers with the peanut butter, powdered sugar, and graham cracker crumbs. Stir until everything is well mixed and forms a dough-like consistency.
Step 2: Shape the Balls
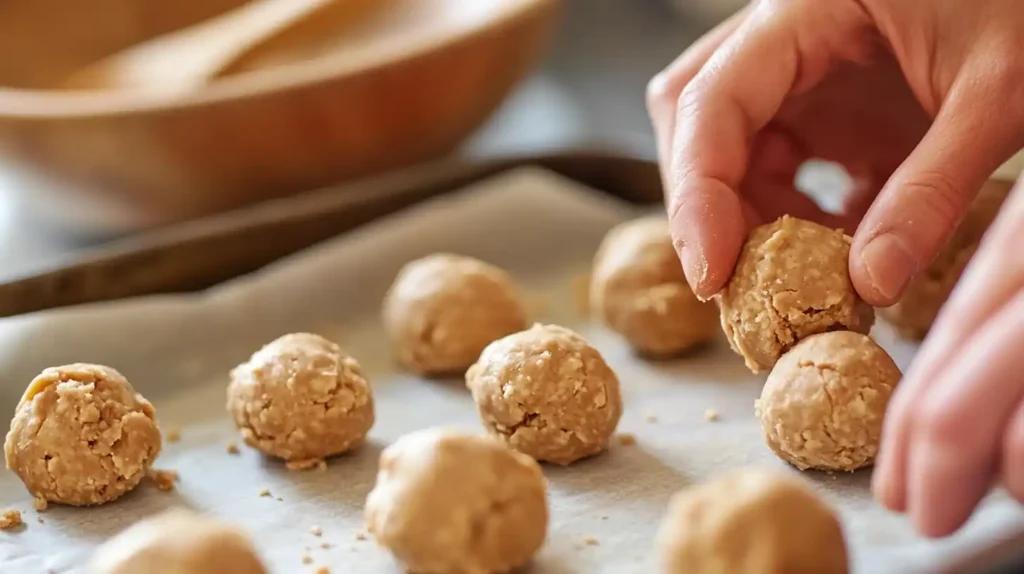
Once the filling is ready, use your hands to shape it into small balls. Each should be about the size of a walnut. If the mixture feels too sticky, chill it in the refrigerator for about 15 minutes before rolling it into balls. This will make it easier to work with.
Step 3: Coat in Chocolate
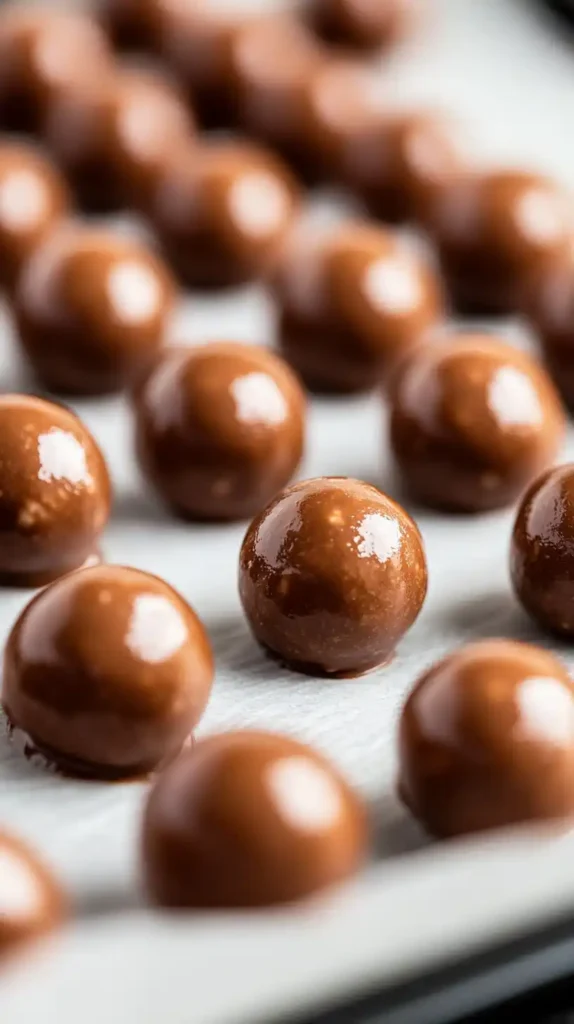
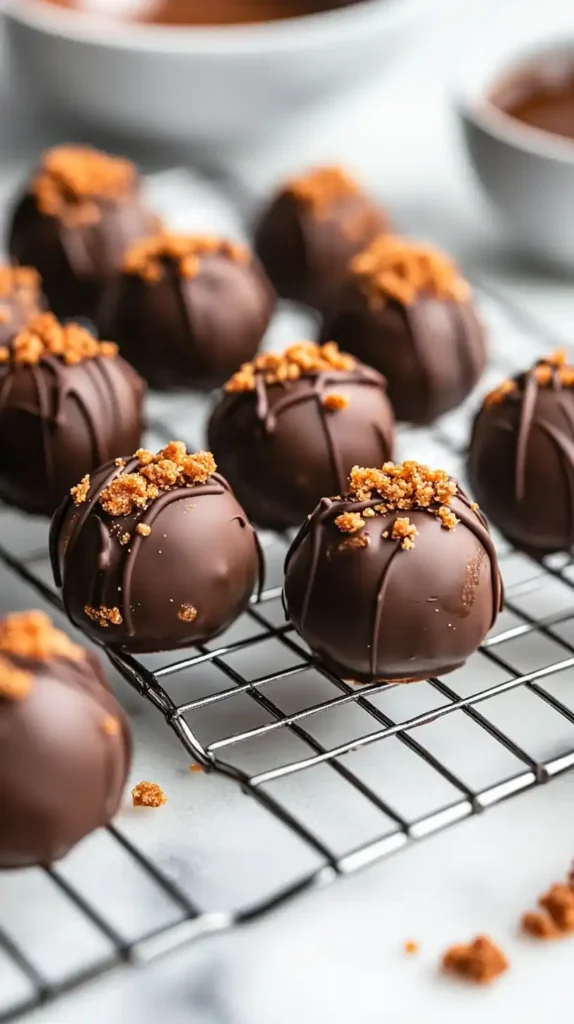
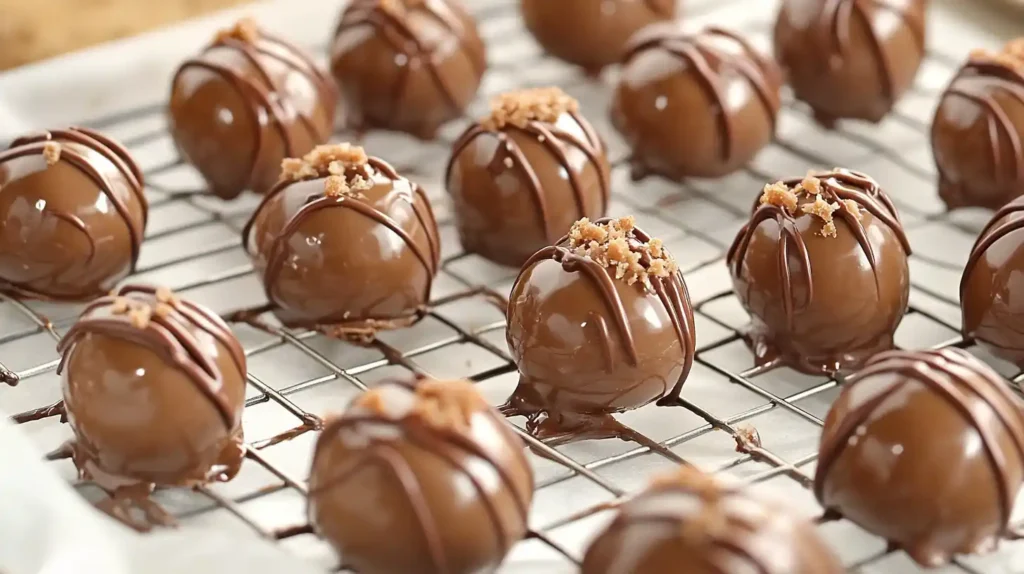
Melt the milk chocolate chips in a microwave-safe bowl or over a double boiler. Once melted, dip each ball into the chocolate, ensuring it is completely covered. Place the coated balls onto a lined baking sheet and allow them to set.
Step 4: Chill and Serve
Place the baking sheet in the refrigerator for at least 30 minutes, or until the chocolate hardens. Once set, your Butterfinger balls are ready to serve! Enjoy this simple and delightful treat with friends and family.
Tips and Tricks for the Best Butterfinger Balls
To make sure your Butterfinger balls turn out perfect every time, here are a few helpful tips and tricks. These small adjustments can improve texture, flavor, and overall enjoyment.
Tip 1: Chill the Dough for Easy Rolling
If the dough feels too sticky, chill it in the refrigerator for 15–20 minutes before rolling it into balls. This helps prevent a mess and makes it easier to shape the balls.
Tip 2: Mix the Ingredients Well
Be sure to thoroughly mix the crushed Butterfinger bars, peanut butter, graham cracker crumbs, and powdered sugar. This will create a smooth, cohesive filling that holds together well and avoids crumbly or uneven texture.
Tip 3: Try Different Coatings
For a fun twist, experiment with different coatings. While milk chocolate is traditional, you can try dark chocolate for a richer flavor or even white chocolate for a sweeter taste. Adding a sprinkle of crushed peanuts or toffee bits on top can add extra crunch and flavor.
Tip 4: Let the Chocolate Set Properly
After coating the balls with melted chocolate, allow them to set completely before serving. This helps the chocolate harden properly and prevents it from smearing when handling. A little extra chilling time can make a huge difference.
Tip 5: Store for Freshness
Store the finished Butterfinger balls in an airtight container in the fridge. They’ll stay fresh and maintain their perfect texture for up to a week.
Creative Variations of Butterfinger Balls You Can Try
If you want to add your personal touch to the classic Butterfinger balls recipe, there are plenty of fun and creative variations you can try. These ideas will let you tailor the treat to your taste and experiment with new flavors.
Add Different Fillings
Instead of just using peanut butter, try adding a cream cheese filling or even marshmallow fluff for a smoother, fluffier texture. You can also blend in a little honey or maple syrup to create a slightly different sweetness.
Experiment with Coatings
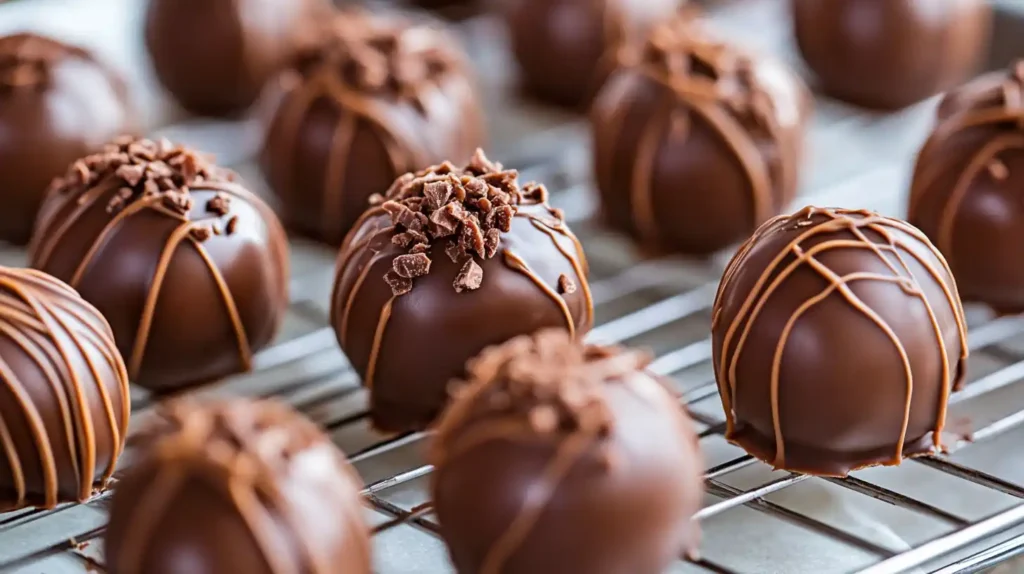
While milk chocolate is the go-to, consider coating your Butterfinger balls in other types of chocolate. White chocolate creates a sweet contrast to the salty peanut butter, while dark chocolate offers a more intense flavor. You can also drizzle chocolate in different patterns to make them look more decorative.
Mix in Extra Ingredients
Add chopped nuts like almonds or cashews to the filling for extra crunch. You could even mix in some shredded coconut or toffee bits for a more decadent treat. These additions give the Butterfinger balls an extra layer of texture and flavor.
Change the Shape
For a fun twist, try shaping the filling into squares or rectangles instead of balls. You could even mold them into holiday-themed shapes for special occasions like Halloween or Christmas.
If you’re looking for more fun ways to enjoy Butterfinger balls, consider adding unique ingredients or even exploring other dessert recipes, such as this shrimp garlic recipe, which brings a delightful combination of flavors that will inspire your culinary creativity.
Serving Suggestions: How to Enjoy Butterfinger Balls
There are plenty of ways to enjoy Butterfinger balls that will suit any occasion or preference. Whether you’re serving them at a party, as a treat for yourself, or at a family gathering, these serving ideas will add extra flair.
Serve as a Party Snack
Butterfinger balls make the perfect finger food for parties or gatherings. Place them in small bowls or on decorative platters for guests to easily grab. They pair well with coffee, milk, or even hot chocolate, creating a fun snack table for guests to enjoy throughout the event.
Pair with Ice Cream
For a more indulgent treat, serve Butterfinger balls on top of vanilla or chocolate ice cream. The combination of the crunchy, peanut buttery balls with the creamy ice cream makes for a delightful contrast. You can even sprinkle extra crushed Butterfingers over the top to boost the flavor.
Make Mini Desserts
For smaller portions, turn your Butterfinger balls into mini desserts. Serve them on bite-sized skewers or in cupcake liners for a fancy presentation. These mini treats are ideal for portion control while still delivering the full, satisfying taste of Butterfinger.
Pack Them for Lunchboxes
These treats make a great addition to lunchboxes or picnics. Individually wrap each Butterfinger ball in parchment paper for easy portability. They’re a sweet, filling option that’s easy to enjoy on the go.
How to Store and Keep Butterfinger Balls Fresh Longer
To keep your Butterfinger balls fresh and delicious for as long as possible, proper storage is key. By following these simple steps, you can extend their shelf life while maintaining their taste and texture.
Refrigeration is Key
The best way to store Butterfinger balls is by keeping them in the refrigerator. Place them in an airtight container or a resealable plastic bag. This will help preserve their texture and prevent the chocolate coating from melting. Make sure the container is sealed tightly to avoid any moisture getting in, which could affect the texture of the treats.
Freezing for Longer Storage
If you want to keep them for a longer period, freezing is a great option. Arrange the Butterfinger balls on a baking sheet in a single layer and freeze them for about an hour. Once firm, transfer them to a freezer-safe container or bag. They can be stored in the freezer for up to three months. When you’re ready to enjoy them, just let them thaw for about 15–20 minutes before serving.
Avoid Direct Heat and Sunlight
When storing your Butterfinger balls, always keep them away from direct sunlight or heat sources. These can cause the chocolate to soften and lose its firmness. Keeping them cool and out of light will help maintain their texture and flavor.
Frequently Asked Questions About the Butterfinger Balls Recipe
Yes, you can make Butterfinger balls ahead of time. In fact, they store really well. After shaping and coating them in chocolate, just refrigerate them in an airtight container. They will stay fresh for up to a week. You can also freeze them for longer storage. Just remember to let them thaw before serving for the best texture.
If you prefer a different flavor, you can substitute the peanut butter with almond butter or cashew butter. These options will offer a slightly different taste but will still create a smooth, creamy filling. Keep in mind that the texture might change a bit depending on which nut butter you choose.
While graham crackers help bind the mixture and add a little crunch, they aren’t absolutely necessary. If you’re looking for a gluten-free option or prefer a different texture, you can swap graham crackers with rice cereal or crushed oats for similar results.
The preparation time for Butterfinger balls is quick. It usually takes about 20 minutes to mix the ingredients and shape the balls. Once coated, refrigerate them for at least 30 minutes to allow the chocolate to set. The total time will depend on how long you chill the mixture, but it’s typically under an hour.
